Never-the-less, I heated up my basement and started working on upcoming project and classes. So let's start with this cutie here:
Materials used for this card:
- 4 1/4" x 5 1/2" card base from Daisy White cardstock with envelope
- 4" x 5 1/4" Close To My Heart cardstock
- 3 1/4" square paper (here striped)
- 3" square of "Frosted" design paper
- 2 labels of same kind from cardstock (one in Colonial White)
- 1 label from cardstock and a 2" x 1/2" piece of Colonial White cardstock
- approx. 4" long branch with leaves
- owl stamp, sentiment stamps, black ink pad, coloring pens and 2 sparkle rhinestones, adhesive runner, glue dots and foam dots
First I stamped one owl on a piece of paper from the same design paper the 3" square is off. This owl I colored in with color pens and cut it out along the outer line (not the legs!).
The second owl was stamped in the upper right corner of the 3" square.
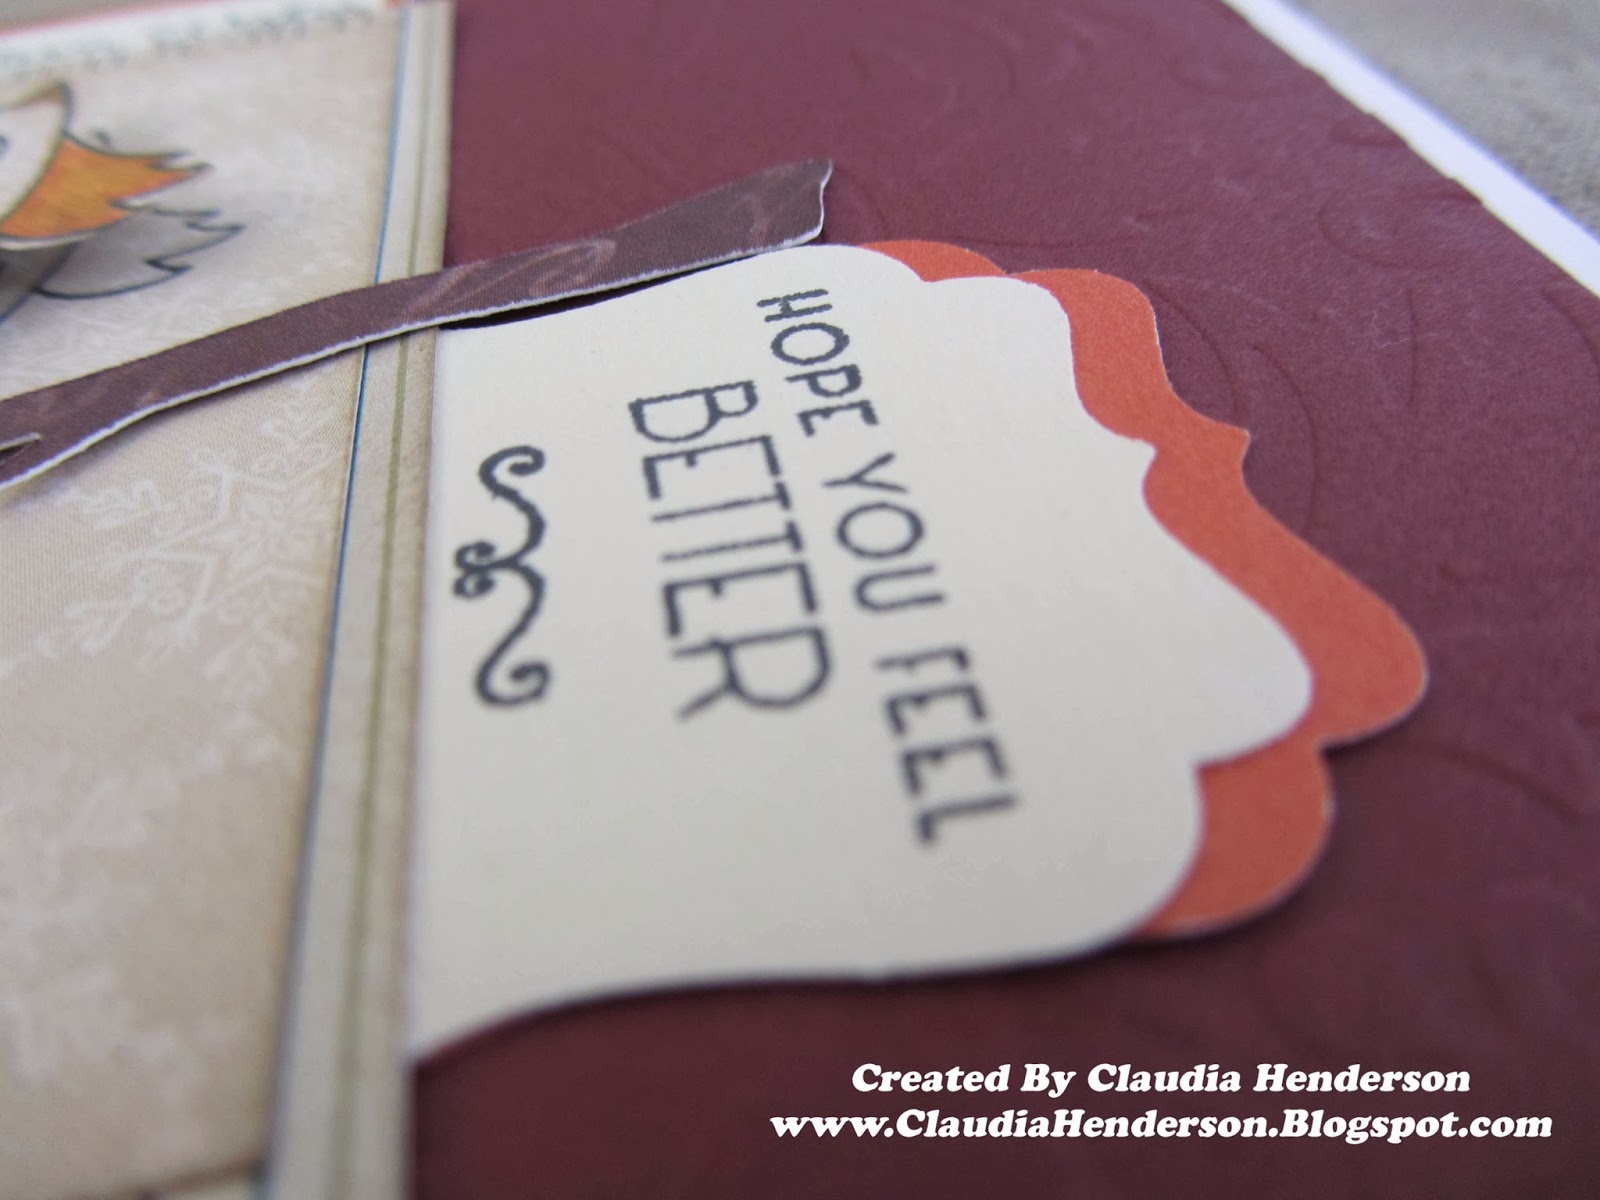
Stamp you sentiments very close to the top of the label cutout and the rectangular piece. Adhere the white label onto the colored piece slightly offset. The pieces are both the same size, but by offsetting one you create a little frame. The original label is about double the size, but the other side is either hidden under the squares or you can cut them off.
 The second sentiment was also stamped close to the top and adhered to the colored piece. This one doesn't have too much overhang, so I just tucked it behind the squares.
Now adhere the 4" x 5 1/4" cardstock piece centered on your card base. (I embossed this piece to give the card more texture). To assemble the other pieces, glue 3" square centered on 3 1/4" square first. To make sure the whole assemble fit's on my card I flipped the squares over, places adhesive on the two sides where the labels will be. I now took my labels and placed them so the sentiments would show but the rest of the label would hide behind the squares. The rectangular one is placed close to the right upper corner while the other one is close to the lower right corner. Once I am satisfied with their position, I put adhesive on the rest of the back of my square and the labels and position the whole assemble onto my card base in the lower left corner.
My branch and the leaves were cut out with the Cricut machine and our Close To My Heart cartridge "Artiste". I attached the leaves and then the whole branch with glue dots to the card. Position the branch so your previously stamped owl will sit on the branch and the label on the right can still be seen.
A couple of sparkle rhinestones are places in the eyes of the owl that was colored in and cut out.
 Now use some foam dots and adhere the colored owl right on top of the one stamped on the paper. This way your owl not only gets more dimension, but she also gets her legs and feet's back and she is resting on the branch.
If you like a copy of this card or the complete class set for January, please feel free to contact me for more details.
Any other questions? Just sent me an email and have fun crafting...
...stay tuned for more cards...


No comments:
Post a Comment