


 The lower left picture gives you an idea on how messy it is to color the edges, but who cares how the backside looks like right? Just make sure you don't color your candles in black too. The last picture again is a nice example of the difference between with or without color and the thickness.
Before we go on with the two cards I have to apologize for the pictures not being like normal. I have a new laptop and I am still missing some programs.
The base for this card is 4 1/4x5 1/2 and I cut a piece of grey design paper in the same size to cover the front of my card. Next I cut a piece of white cardstock at 4x5 1/4 and run it through my woods embossing folder. I used a circle diffuser in the middle to create and area where the embossing left out. I then cut a circle out of white cardstock and a second one about 1/4 smaller than the white. This one is cut from the design paper we used for the front. Paper saving trip: Cut your design paper circle out of the piece you adhere to the front. No one will noticed since you will be covering the whole up with the wood embossed paper :-)

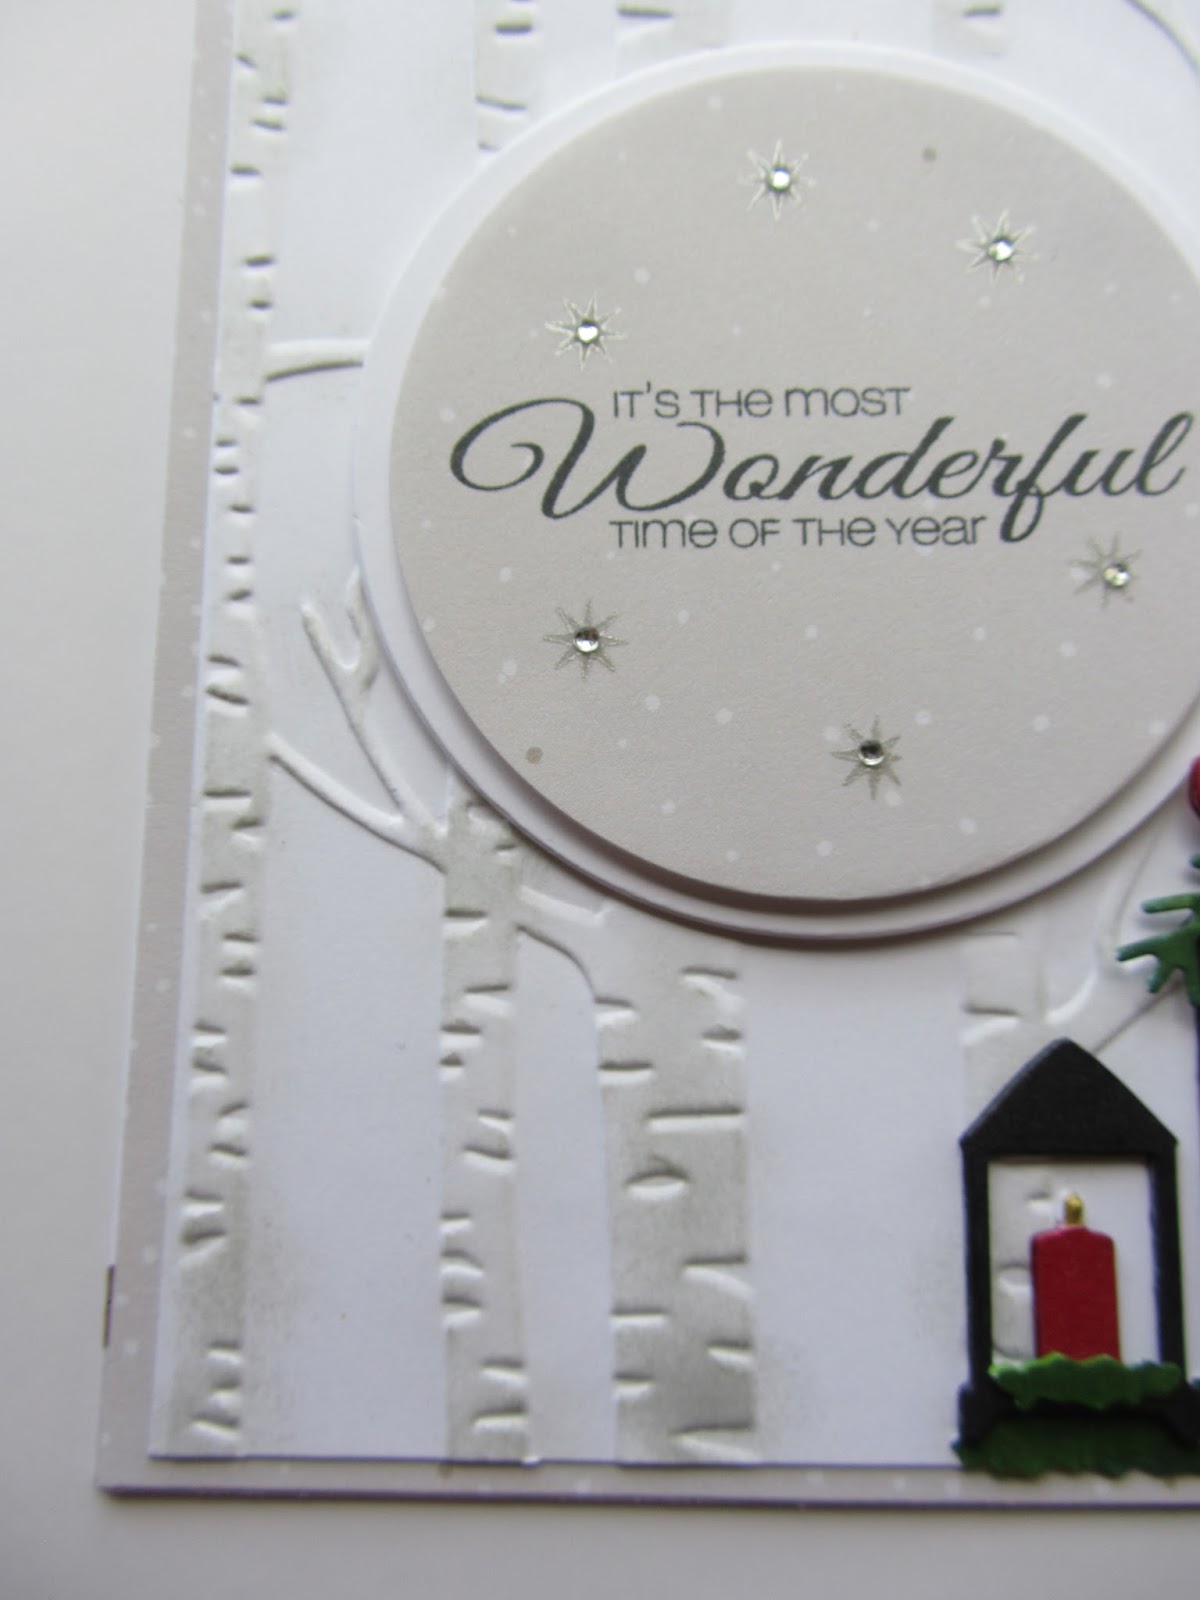 To make the trees show a bit more, I used a sponge dauber and a light grey ink and lightly when over the raise embossing part. The circles are adhered together and on the card with foam dots. I stamped the phrase and stars on it and decorated them with a few rhinestones. Now you know by now how these lanterns were made. Do to me coloring in the candles with back ink... grrrr... I run the dies through again with some red metallic paper and cut out the candle part to add to the lantern. A little gold glitter glue for the flame and this card is done. Well the little greens and bow come with the lantern set. I too cut them three times, colored them in and adhered them together.
 As you can see, more die cutting is needed. I think I gave my arm muscles a pretty good workout LOL. Here are some quick measurements:
Card base 4 1/4 x 5 1/2
White cardstock piece cut with the biggest rectangular stich die from Lawn Fawn (ca 4 x 5 1/4)
Using a oval diffuser and a dotted embossing folder for the cut out.
 The size of the yellow/ gold oval here is measured on the oval created by the diffuser. You can cut it from colored paper or use some distress inks like I did.
 I stamped the phrase in black on the oval after the distress ink had dried.
To assemble the card, adhere the golden oval to the oval left in the embossing. Place your lantern and greens and other decorations on top. Adhere the piece with foam dots to your card base. Stamp a nice phrase on the inside and don't forget to decorate the envelope too.
Well, these lanterns are really cut even if you use them in single layers, but when you layer them they really look like a real lantern. Have fun with this technique and let me know what you came up with. Stay tuned ....more card inspirations are coming soon.
No comments:
Post a Comment